
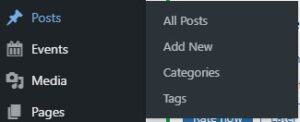
First, log into your WordPress instance with a user who has a minimum of Contributor rights (or Author/Editor/Administrator). On the left side menu click on Posts and Add New. You are on your way now …
To begin, enter the title of your blog post. As you can tell from the block used above, I like to format my blog posts with a Media & Text block as the first design style at the top of my post. This, of course, is completely up to you. In this post, we will be starting with that block plus many others. We will also cover the Yoast SEO plugin which can help greatly in your Search Engine Optimization efforts.
We are going to select the Media & Text block style to begin our blog post. After selecting this block, you will be able to select an existing graphic or upload new. The next step is to enter the text portion of this block.
Now it is decision time – how do you want this block to show up for your readers? Media left side or right side, change text alignment, these options are in the section above the Media & Text block style.
As you can see here, my chosen formatting style is to alternate left to right for this block style.
Next, we will choose the Paragraph block style. That is the style used for this paragraph. You will also notice that the text formatting is consistent between the text portion of the Media & Text block and Paragraph blocks. You can use Default, Small, Normal, Large and even bigger. In this case I have changed all font selections to Normal. In order to get the most efficiency in page displays, the Media sizing is set to Medium.
Where are these options? In the Block section on the right side of your screen.
The next logical block style to look at is Image. As you may have guessed, that is the style used above. The plus symbol is shown here because that is what you will use to select the block style prior to typing anything into the defaulted Paragraph style. As with the Media & Text block, options are displayed above this block when it is selected. The layout above has been changed to Align Center, but you may choose to align images right, left or even full width.
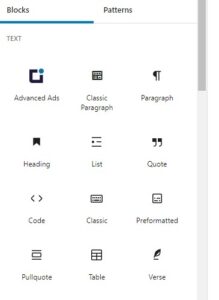
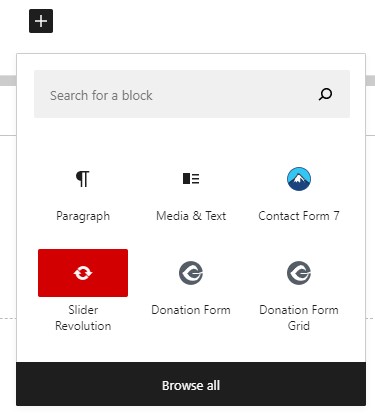
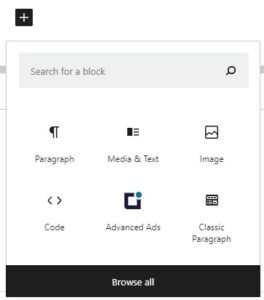
So far we have looked at the small blocks displaying the most recently used block types, but there has been an option to “Browse All” at the bottom. The screen shot shown to the left displays some more of the Text options. We will cover a few of these here and you can explore additional WordPress block styles on your own.
Heading is definitely a useful and visually appealing block style to use. The placement for this will usually be below the title or between different sections of your post.
You can also insert block styles inside of others. Here we are using Quote and changing the color
And here is the verse block style. Code will also appear with this formatting style although the font will be different.
Since you have seen the Browse All option, we will cover some more of the block styles starting with Columns (in the Design section) shown here. We have selected two columns evenly spaced and you can choose three along with a percentage spacing.
File, Gallery and Audio are a couple of other useful block styles inside of the Media section. In the Design section, you may like the Button style (and hyperlink).
You will also see various widgets and embeds listed. Standard embed types such as Youtube, Twitter and Vimeo are listed along with the WordPress standard widgets such as Custom HTML, Latest Posts and Calendar. Additionally you will see some widgets listed based on the theme selected or you may have chosen to install.

There is a detail that needs to be pointed out with this Media setting – in order to clear up the text displayed it is using the Full Size image size option.
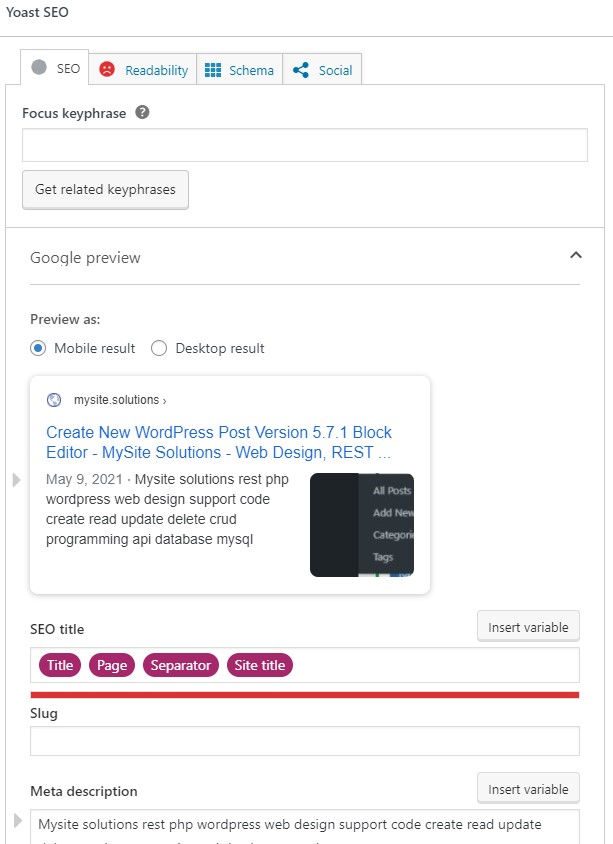
As promised, we will cover the Yoast SEO settings which are displayed at the bottom of our post. If you don’t see this on your own site, it is likely that you don’t have Yoast SEO installed.
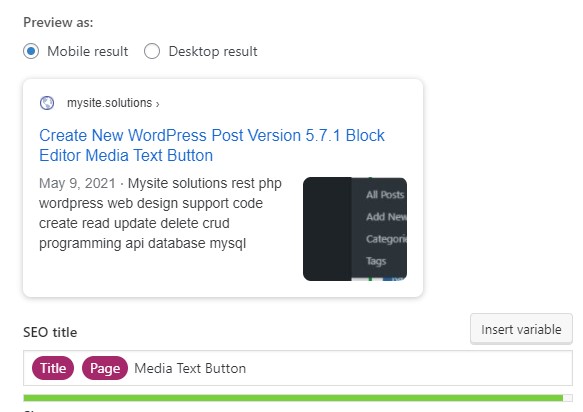
First, why is the SEO title showing a red bar below it? We can fix that with a little editing.
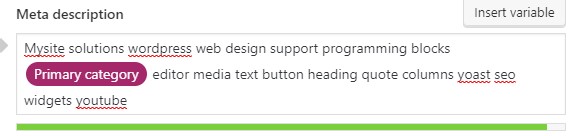
Something new has been introduced above – Primary Category which was added using the Insert Variable button. This will use the primary category set for our post. Hey, we haven’t looked at setting that yet, but that will be shown next. Take a look at the left side of your WordPress blog post and notice the Post section. This will be used to set additional search engine optimization settings such as categories, tags and featured image.
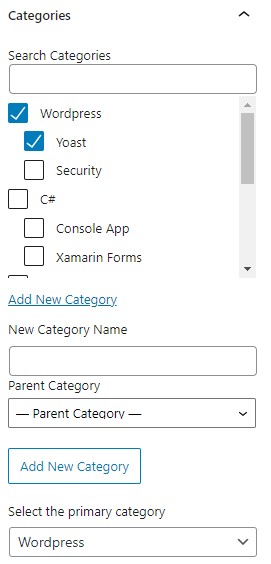
Notice that the categories selected for this post are WordPress and Yoast with the primary category being WordPress. You can choose as many categories as desired although too many could defeat the focus of a pleasing user experience.

Now we have set our tags and featured image for this post. We are following the same “less is more” approach to use the most appropriate tags for accurate search engine optimization but not too many which may overwhelm the individual user experience.
In this post you have received a somewhat deep dive into creating an optimal WordPress blog post with UX at the forefront of style and design. Take the tips presented here and improve your own site quality, posts and user experience.