
You may be thinking – “I am a web designer, I don’t know how to use MS SQL and SQL Studio.” The good news is that in most cases you don’t need these to design a database for your RESTful site. When logging into your web host, they should provide a Control Panel for your management and installation of much of the components used on the site. The most popular control panels are cPanel and Plesk, today we will be starting in cPanel to move into phpMyAdmin and work on our database.
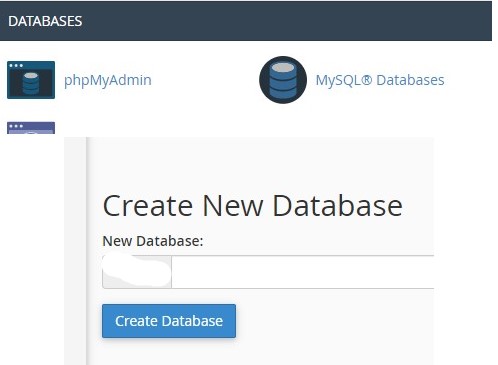
Your first step will be to create the new database using the tools available in cPanel. In the Databases section, click on MySQL Databases and Create New Database. It will fill in the name prefix for you, type in the database name desired.
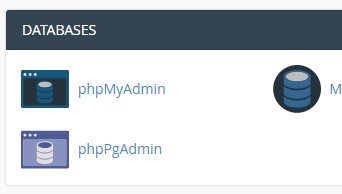
In cPanel, phpMyAdmin will be in the DATABASES section as shown here. When logging into the web host, control panel should be the first display shown to you.
After clicking the phpMyAdmin icon, we see the database layout to our left. You will notice that a portion of the database name has been erased. We don’t want to give those with malicious intent any leads so we have to be careful with some details.
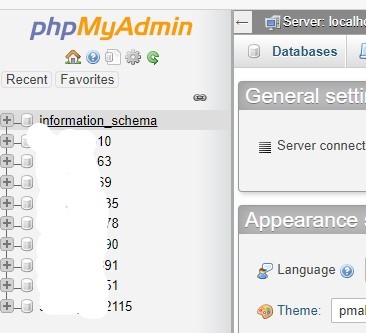
The database name will generally consist of a few letters followed by numbers. If there are multiple database names and you are unsure which one needs to be modified, the + symbol will display the individual tables located in that database
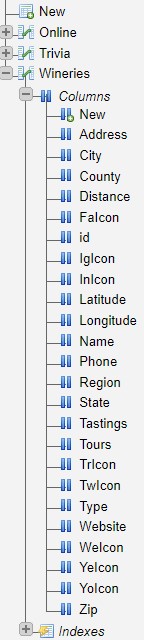
This is where you will create the database structure desired using the New option. As you can see in this screenshot, we have already created the tables needed for our WineHopper web page (or mobile app). If you have already followed the six steps in “Building Your PHP REST Service” (step 2), these tables and fields will serve to answer some questions that may have arisen about the database and fields. Although this long list shows so many of the field names, you may still be wondering how we know the field type, length etc. There is an easy answer for that, also.
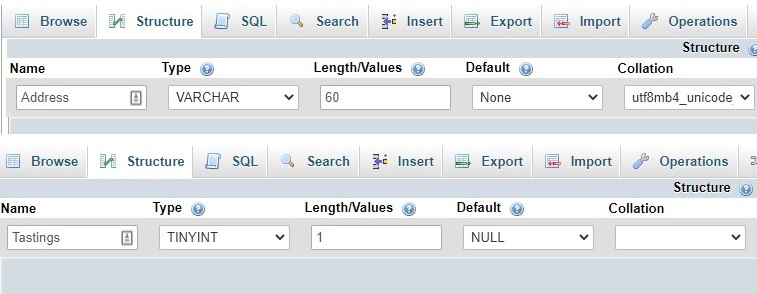
As shown here, we have clicked on both the Address field and Tastings. The type and length should be pretty clear since address is text (varchar) and a maximum length of 60 characters. There are other fields, such as Tastings and Tours, which are Yes/No fields but the field type is tinyint with a value of 1 or 0. Notice that the field names begin with an upper cased character and that exact name was used in the six step illustrations
Next, we get to move forward with placing the data retrieved by our REST service into a cross-platform mobile app. This mobile app will be designed using Visual Studio 2019 and Xamarin Forms targeting iOS and Android devices. Our next post begins the process of creating the Visual Studio solution.